Showing posts with label gardening. Show all posts

Saturday, March 19, 2016

How does she do it: The Succulent Chair


We've had nothing but amazing and overwhelming praise for the Home and Garden show this year. One of the biggest attractions and things people have been talking about is my succulent arm chair! I've been sharing it all over social media and have had an overwhelming response there too!

The most popular question is: "How did you do that?" which is what this post is about.


I love gifs so very much.

The second most popular question is: "Where do you get your ideas?". Which I'm never really sure how to answer. My brain? My imagination?

However in an attempt to answer that question I'll tell you about the process I went through.

Early in my time at Bidwell we found out that we were going to be doing displays for the Home and Garden show. The first thing we were given as a theme was just "Pittsburgh". I immediately started thinking about what I wanted to do. Obviously it had to be really cool, fairly challenging, and weird. I like weird plants, and weird projects. It needed to be big, surprising, and whimsical. I'm a very whimsical person.

I've been really into succulent topiary for a while, wreathes and Christmas trees and the like. I was surfing around Pinterest looking for a way to make a succulent topiary sky line of Pittsburgh. Then I saw a picture of a "moss chair". There are a bunch of moss covered arm chairs lurking around Pinterest and I thought that was pretty cool. Then the light bulb went on.

Succulent topiary... Moss chair..... SUCCULENT ARMCHAIR

Boom.

From that moment on the idea was wedged thoroughly in my brain. As the concept for the show grew and evolved,  this chair stayed in my mind.  Initially it was going to be fully topiaried in succulents, no moss on the outside, but our Director informed me that would require entirely too many succulents, therefor: moss.

Of course I thought this was going to be a simple process. This is a common theme in my life, actually, coming up with an idea that seems totally simple and do-able but then ends up being far more difficult than anticipated. I always figure it out though.

This chair is begging for a make-over
The first hurtle I found myself facing was the fact that I needed a chair.  My plant was essentially to reupholster the chair in sphagnum moss and succulents. Which seemed perfectly reasonable. I've reupholstered things before. All I needed was to find a suitably ugly chair that I could tear apart.

Easier said than done. I recalled seeing many of these sort of wing back arm chairs on the side of the road being thrown out. Garbage chairs. Unfortunately as soon as I needed one there were none to be had. On Craigslist people wanted $50+ for them, and I really didn't want to actually buy a chair only to tear it apart.

To be fair, I also lacked the proper tools for the job.
Finally, one day, when all hope seemed lost, I found one. It was the ugliest arm chair I'd ever seen. And it even had some tulips on it, which are my favorite flower. I took it as a sign from the universe and hauled that hideous chair home. 
My next challenge was stripping the chair. As I've said, I've reupholstered things before. Stripping the thing was always the easiest part. Destructive and fun too. It was a little shocking when I discovered that even though it was old, stained, and ugly, this chair was remarkably well made. The fabric was thick, strong and attached to the base with these ridiculously strong, big, staples.

Thankfully, I did eventually get it stripped down. As is often the way with garbage chairs, it desperately needed some cleaning. Some scrubbing and a bit of bleach later, it was ready.

The next step was to cover any part that was going to be under moss and plants with thick black plastic (to keep the frame from rotting).

Not pictured: Any fucks given

At first this was an intimidating process, as I tried to get all my plastic creased nicely (which it was not made to do). Then I realized that this was going to be underneath the plants and moss, and no one would see it, so it really didn't matter if it looked like a hot mess as long as it as water tight.

It got much easier after that.

After the black plastic was on and secured I needed to go about building the frame into which the plants would be planted.

This was yet another surprise challenge.
Do you know how challenging chicken wire is to work with? It's really strong. I suppose it needs to be to keep the chickens in. However I've seen things with way more complicated than an armchair constructed from chicken wire and foolishly believed it would be a simple process.
 
You don't want to know how long this took.
Thankfully, I had a staple gun, plenty of refill staples and the determination of some one who has already found themselves in way over their head and kept going with the project.

Part of the seat cushion was filled in with styrofoam pieces to save on sphagnum moss, and to give the frame a bit of extra support.

The real challenge wasn't so match attaching the chicken wire to the chair as it was shaping the chicken wire to approximate the form of the cushions which now resided in the dumpster. Also baring in mind that this frame was going to have to be stuffed with sphagnum moss and support a large number of succulents, which eventually would grow and spread.

Quickly I figured out that it might be worth my while to stuff the moss while I build the frame. Working one section at a time, slowly building up the chair rather than attempting to set up a whole chicken wire frame and then add the moss. This was a much better all, the open ends of the chicken wire is how I got the sphagnum into the frame. 

Another Pro-tip: Always give your sphagnum moss a good soak before using it. However, don't leave it sitting in a bin of water for two days while you fight with plastic and chicken wire. It will end up smelling like some combination of hay, poop, and vomit. It's not good.

As I built up the frame I began to think about the black plastic around the outside of the chair and the moss I would be attatching to it. I realized that the moss, being a natural product and not astro-turf, would have some thinner spots where my plastic would show through. And that would look crappy. So I devised a plan to, once my chair was mostly stuffed, get it onto a rolling platform, spray it with floral spray paint (pro tip: it adheres better to plastic sheeting that regular spray paint). This was a perfectly well reasoned plan. I had intended on getting an assist from a classmate to get the chair onto the rolling platform, but he was busy and I thought. "I don't need any help, I'm a strong independant woman who can totally get this chair onto that platform all by herself".

Incorrect.

As I scooted the chair across the floor, it crumbled under me. One of the legs broke off, way up inside of the chair.

Rage.
How I felt inside


How I looked outside


 Thankfully I got by with a little help from my friends. A couple of classmates stepped in and, giving up time to work on their own projects, helped me fix my chair. Which is good because without their help I probably would've spent at least two more days trying to fix the chair all on my own.

Once the chair was repaired, I got the help I actually needed and got it  up on the rolling platform.  The outer edges were covered in the shiny black plastic and I didnt want to just paint to whole thing one color. If I painted the whole thing the same color it would just show through that color, and I'd have the same problem as if I'd left it black.
Git' R done.

So I decided to mottle the paint with the colors. I chose colors that were already in the sheet moss, browns, tans, and greens and went to town on it. It was a lot of fun. Sort of like tagging a building with spray paint. Which is something I've totally never done and wouldn't do because destruction of property is wrong.

Of course the effect of the paint colors was something akin to redneck camo. There was much mocking and teasing of my chair for replacing an ugly fabric cover with an even uglier painted finish.

Thankfully it didn't last long. I kept moving along with the sphagnum moss, stuffing a few handfuls at a time, then attaching the chicken wire back down, then a few more handfuls, watering here and there to keep it moist so that my succulents wouldn't be going into a bone-dry medium. Then, it was ready for planting.

 The actual process of planting the succulents into the chair was fairly simple. In one of the spaces in the chicken wire dug out a little hole with my fingers. Removed the succulent from its container, separated it if there was more than one in the container. Then I knocked the excess soil from the roots, dipped it in some water, and tucked it into the space I made in the sphagnum moss. In this way I slowly and carefully placed around 100 succulents onto the face of the chair. It took about two work-days to complete this part of it.


Once the succulents were all placed it was only a matter of attaching my sheet moss to the outside. Thankfully, this was actually not as difficult as the rest of the project. It took a combination of pins and hot glue to get it on there, but it went on relatively easily. However, my finger prints may never be the same after spending a day working with an industrial strength glue gun.

It took longer than expected to get the moss done. It wasn't a difficult job, just tedious, and after the juicy creative work of placing all my succulents, playing jigsaw puzzles with pieces of moss and scalding hot glue was some what less enjoyable.

Eventually it got done.

I wish I could say that it felt like heavens opened up and the angels sang down and that I felt an upswelling of pride at what I had accomplished. This weird incredible project that, as far as I could find on the internet no one else had done.

Instead I mostly stared at it with my eyes squinted and my arms crossed trying to figure out how I could smooth out this flaw or that flaw.

It wasn't until a few of my classmates and teachers came over to admire my work that I realized how proud I was of it. I bopped around the greenhouse grabbing any passer by I could find and dragging them over to see my handiwork.

  
Look at it! LOOK!


There were still a few challenges left to deal with.

For starters, who exactly does one water a chair? I'm in horitculture school and I can assure you this is something we haven't covered at all. The answer is, with a water can once a week, and spritzing with a spray bottle in between.

Next was the challenge of the Home and Garden show itself. How do we get this chair from the relative safety of the greenhouse down to the convention center, in tact and unmolested, with all the plants still alive?  Answer: With help from the Junior Horticulture class! Thank fully I made a few friends in the new class who carefully baby sat my chair as it was loaded onto the truck and then unloaded at the convention center. I wasn't there to see how it was secured for the journey, which is probably good because if I had known it was coming over I would've been an anxiety ridden wreck.

The show is huge, over 300,000 people walking around, shopping, talking, bumping into things, and touching things. Also during the four days of load-in and the one day of load-out the convention center is not heated, because there are giant trucks driving in through the big loading docks and onto the convention floor. And succulents are destinctly warm weather plants.

And the fact that the air in the convention center, even when climate controlled for people is absurdly dry and saps the moisutre out of everything.

It all made for a challenging week and a half. But we made it through. There was a lot of spraying of the chair. I kept a watchful eye on it when ever I was at the show, as did many of my classmates, and I may have had to threaten a few people who were discussing whether or not to sit on it. (Don't.)


In the end, I think it was one of the stars of the show. Lots of people taking pictures, talking and asking questions.
Hopefully this will be something I can use in the future (and hopefully in terms of future employment) to show off what I'm capable of.  I can make something really cool. And I am absurdly proud of the chair, the show, and myself.

In terms of the chair's future, the rumor is that it's going to go live at Phipps! We were there last Wednesday and the greenhouse production forman told me that they are in talks with our director in order to buy the chair. Which they will add more succulents to and make a twin for and have in the Summer Flower show!

So, if you want to visit my chair, stay tuned for news of it's second debut at Phipps Conservatory and Botanical Garden this summer!


Sunday, March 6, 2016

Seed Company Reviews!

Tis the season to be procuring seeds by the packet and getting ready for Spring-time planting. Well, at least in Pittsburgh it is. In Florida, where my parents emigrated, they're already setting out their tender seedlings for their first growing season.

Before I get started on how to start seeds inside and all the fun of that, I wanted to offer some thoughts on different seed companies you can order from.

The four companies I'll be talking about are Botanical Interests, Baker Creek Seed Company, Fedco Seed Company, and Burpee.

Let me start off by saying that you really can't go wrong with any of these four seed companies. It's really a matter of what you're looking for, and what's important to you in a seed company.  The only seeds that I recommend against buying are the off-brand $0.50 a pack ones you can find at the dollar store and places like that. Sometimes you can get amazing deals, but most of the time the seeds are poor quality, don't germinate, and there's no customer service involved.


First we have Botanical Interests.

 I LOVE Botanical Interests. I really do. I was introduced to them as a fledgling gardener by a horticulturally inclined friend and I'm so glad she did. Their seed packets are all beautiful. Little perfect works of art. And they're filled with information, not just on the front and back but also if you open them up they have tons of extra info inside, info like tips for getting the best germination rate and harvest, and how to preserve your harvest. Their website is also lovely. It's pretty easy to navigate, although it can be a little difficult if you tend to tear through websites like I do. They have a lot of information on their website, and it's a great reference. Their seed catalog comes out two or three times a year (to be honest I don't do a good job of keeping track, I mostly get really excited when it shows up) and it's equally lovely.

A little bit more about BI, they've been in business since 1995, they're a family owned company and they are RAPIDLY expanding. They now have over 600+ varieties of both edible and ornamental seeds, and they have a really great heirloom and organic selection as well. All of their seed is untreated and certified GMO Free.

One down side I will say to all of their beautiful art is that there aren't many pictures of what the plants really look like. So, even though I adore seeing the artistic renderings of them, and I don't have a really solid idea of what they look like in reality.

One of the reasons I love BI so very much is their customer service. When I sent out messages to all these companies to ask if there was anything they wanted to share, they were one of the first to get back to me. They're active on social media and very easy to get ahold of if you have questions or concerns. Also they partner with non-profits and schools and donate loads of seeds to community gardens, and what's not to love about a company that gives back?

Nitty Gritty: Selection and Price. They don't have the largest selection of these seed companies, but their selection is more than sufficient for most home gardeners. They only sell their seed packs in one size, so there's really no buying in bulk (although you could always contact them and ask if you need a bulk order, their customer service is baller).  Price wise they're a little more on the expensive side. However the price difference isn't extreme. According the information on it one packet of "California Wonder" heirloom organic seeds is enough for 30 plants when started indoors and costs $1.99

Bottom line: Botanical Interests is the first seed company I reccomend to new gardeners. They're becoming easier and easier to find in person (Rolliers in Mt. Lebanon carries them, as well as Giant Eagle Market Districts for Pittsburgh locals).


Up Next: Baker Creek Heirloom Seeds (Rareseeds.com)

Baker Creek Heirloom Seeds is a weird-plant lover's dream. They've only been in business since 1998, but in that time they've built an Amazing network of growers and seed adventurers the world over. They offer almost exclusively Heirloom seeds (yay) and have tons of organic options if that's your thing. All of their seeds are 100% gmo free. What's amazing is that they offer over 1,800 varieties of seeds from all over the globe, so if you want to grow something that none of your neighbors or friends have ever seen, this is the company for you.

Their customer service is also quite good. They got back to me very quickly when I contacted them. They offer two seed catalogs, one is the regular catalog that gets mailed to you if you request it on the website or buy seeds from them previously. It's a lovely seed catalog with lots of great images and more planting options than I know what to do with. And then there's the Whole Seed Catalog. The whole seed catalog will cost you about $8 + shipping but it's filled with almost every variety they carry, tons of articles, recipes, tips and wonderfulness. It's like a magazine, but all seeds all the time. Also, many seed companies send a bonus seed pack when you order, for BI it's a mixed lettuce, Baker Creek has sent me a variety, last year I got a lovely tomato called Gypsy that I adored and this year I got some sort of melon that I can't wait to try out. I don't know if they have one variety they send out all year or a bunch to pick from and they just randomly choose one, but I like it.

One of the main down sides to Baker Creek, and this is only after being so spoiled with Botanical Interests, is their seed packets are really hit or miss. Some of them have lovely photographs and art, some have nothing. Some have weird little drawings that look like something I did in middle school (I know, I'm throwing shade at a seed company). But, to be honest, with as many varieties as they have I suppose that a few are bound to slip through the cracks.

Nitty Gritty: They have the most impressive variety of any seed company I've seen. They're also on the more expensive side. Their California Wonder bell pepper seeds come in a packet of 25 seeds  for $2.50. Though they also offer a 1/4 ounce of seed for $7 (which is currently sold out).

Bottom Line: If you want something weird, or historic, or rare or unusual or you just want to try something new, I recommend them. Their seed always performs extremely well for me and I usually pick one or two new things from them every year to try out (because trying new things is the best part of gardening... well, other than the eating)


Third: Fedco Seeds

The thing to keep in mind about Fedco seeds is that they're not a company the way the other seed companies are, they're a co-op and they've been in business since 1978. They're based in Clinton Maine, and specialize in seeds for the North East climate. In addition to seeds they also offer bulbs, trees, tubers, and gardening supplies.

Their website can be a little hard to navigate if you're uncomfortable with online shopping or with using the internet. Their selections are only searchable by name, and basic varieties (beets vs. peppers). Their flower section is organized alphabetically, and you have to go into each description to learn about what the flower is. There aren't a lot of pictures on the website, some varieties don't have pictures at all. Their packaging is very no-frills. No art, no pictures, just the info you need.

Nitty Gritty: Their selection is solid, although not huge it's plenty of varieties, all proven to be good growers and producers for this climate. Their prices are pretty awesome too, for most varieties you can choose what quantity of seeds you want. For their King of the North Sweet Pepper (the closest to the California Wonder I could find) you can choose from between 1/4 g to 4g with a price ranging from $1.40 - $10.00 depending on quantity. (They say that there are aprox. 160 seeds per gram)

Bottom Line: This is my first year using Fedco seeds, so I can't tell you much about them from personal experience. What I can tell you is that their prices are excellent, their customer service is good, and that their seeds shipped quickly and even though I ordered from everyone on the first day, they were the first to arrive. However I do know quite a bit about them based on reputation and I can tell you that I've heard almost exclusively positive feed back. This is a seed company for garden nerds. If you know what you want and how to grow it and you want to support a cooperative of growers that offer only the best varieties for the North East, then this is your company.


And then there's Burpee

Here's the thing, you can't go wrong with any of these companies, and that includes Burpee. The company has been around since 1876 and they've been publishing their catalog since 1881. They have a really solid catalog and they're a HUGE company. Go into any big retalier with a garden center (Walmart, Target, Lowes, Homedepot...etc...) and you'll find Burpee seeds. Go into almost any hardware store and you're likely to find them. They're massive, they're inescapable. And you know what? They're good. I haven't had the same level of success from them that I have with BI and Baker Creek, but they're solid. They're also 100% non GMO and have a good selection of organic products. Bonus points: They're "Certified Land-fill Free" which they don't actually say what that

They're also fairly inexpensive. I'd be lying if I said I didnt end up with a packet or two of burpee seeds almost every time I go up to home depot (But I do really NEED to plant some daisies this year and it has nothing to do with the eye catching seed packet or low price tag).

Nitty Gritty: Their variety is pretty good, a wide range of plants that are market tested to be popular with consumers all over the country. Nothing too unusual, but enough variety to keep things interesting. The prices in store are a little different, their in store seed packets are smaller quantity, but you can buy a packet of 300 California Wonder Pepper seeds online for $7.00 which is a pretty good deal. 

Bottom Line: Burpee is a huge company. Their customer service isn't great. They never got back to me in my request for information for you all. There's nothing wrong with them, but there's nothing all that right with them either. I certainly buy their seeds and I pour over their catalog when it comes in the mail, but when it comes down to my yearly serious seed buying, I'd rather support a smaller independent company than Burpee.

So that's it, my seed company review. You can't go wrong with any of these companies, and I hope you'll give some of them a try this year! What's your favorite company?

Up next: The Pittsburgh Home and Garden Show 2016, and/or my amazing Succulent Chair!

Saturday, February 27, 2016

Phipps Trip to the Orchid and Bonsai show!

I know, I know, I promised a review of seed companies this week. But Tim (my husband) and R (my little boy) and I went to Phipps Conservatory and Botanic Garden last Monday and it was awesome and I need to tell you all about it.

Also I haven't finished the review of seed companies.

It's coming.  I promise.

Anyway! Last Monday was President's day and Tim and R were home. I spent some time at school working on some awesomeness for the Home and Garden show (about which I will also write), then we all went to Phipps together. We have a membership to Phipps, it was part of Tim's birthday present to me and I'm pretty sure it's going to end up being one of the best birthday presents ever.

Phipps has some exhibits that are permanent and then they have a rotating display of seasonal shows that are pretty much always amazing. Not that everything at Phipps is perfect, but I do enjoy them. The show going on right now is the Orchid and Bonsai show. I haven't had a chance to get into it much on this blog yet, but I freaking love orchids and bonsai. My indoor plant room is filled with orchids and eventually, I'm confident this blog will be filled too.

One of the most exciting changes for us has been the inclusion of a miniature railroad in one of the center courts of the conservatory. R, like most little kids, loves trains. During the summer there's a great kids garden area, but in the cold icky months there isn't much for them there, and the trains really give him something to look forward to. In addition this trip they gave us a little scavenger hunt for him, it was a sheet with little images of various things around Phipps and the names written down. This gave R something to focus on while we were looking around, and Tim an opportunity to guide R in a more interactive way.

As a budding horticulturist (pun intended) I really love checking out the stranger specimens and looking around for pests and IPM methods. (IPM= Integrated Pest Management). A popular one at Phipps are these little sachets of Encarsia formosa. Encarsia formosa are a biological control method for problematic bugs, they are a parasitic wasp that lays their eggs inside other undesirable bugs, usually white fly. The eggs hatch and the offspring burst forth, killing the pest. One the highlights of this trip was telling Tim about this and watching the look of abject horror spread across his face. The insect world is so horrific and awesome.

Here are some pictures I took from my trip, they'll do a better job that I ever could of explaining how excellent the show was (and is since I believe it's going on until Feb. 28th).

The Center courtyard. Lush as always

Just look at these amazing Phaleanopsis.

Those markings are glorious

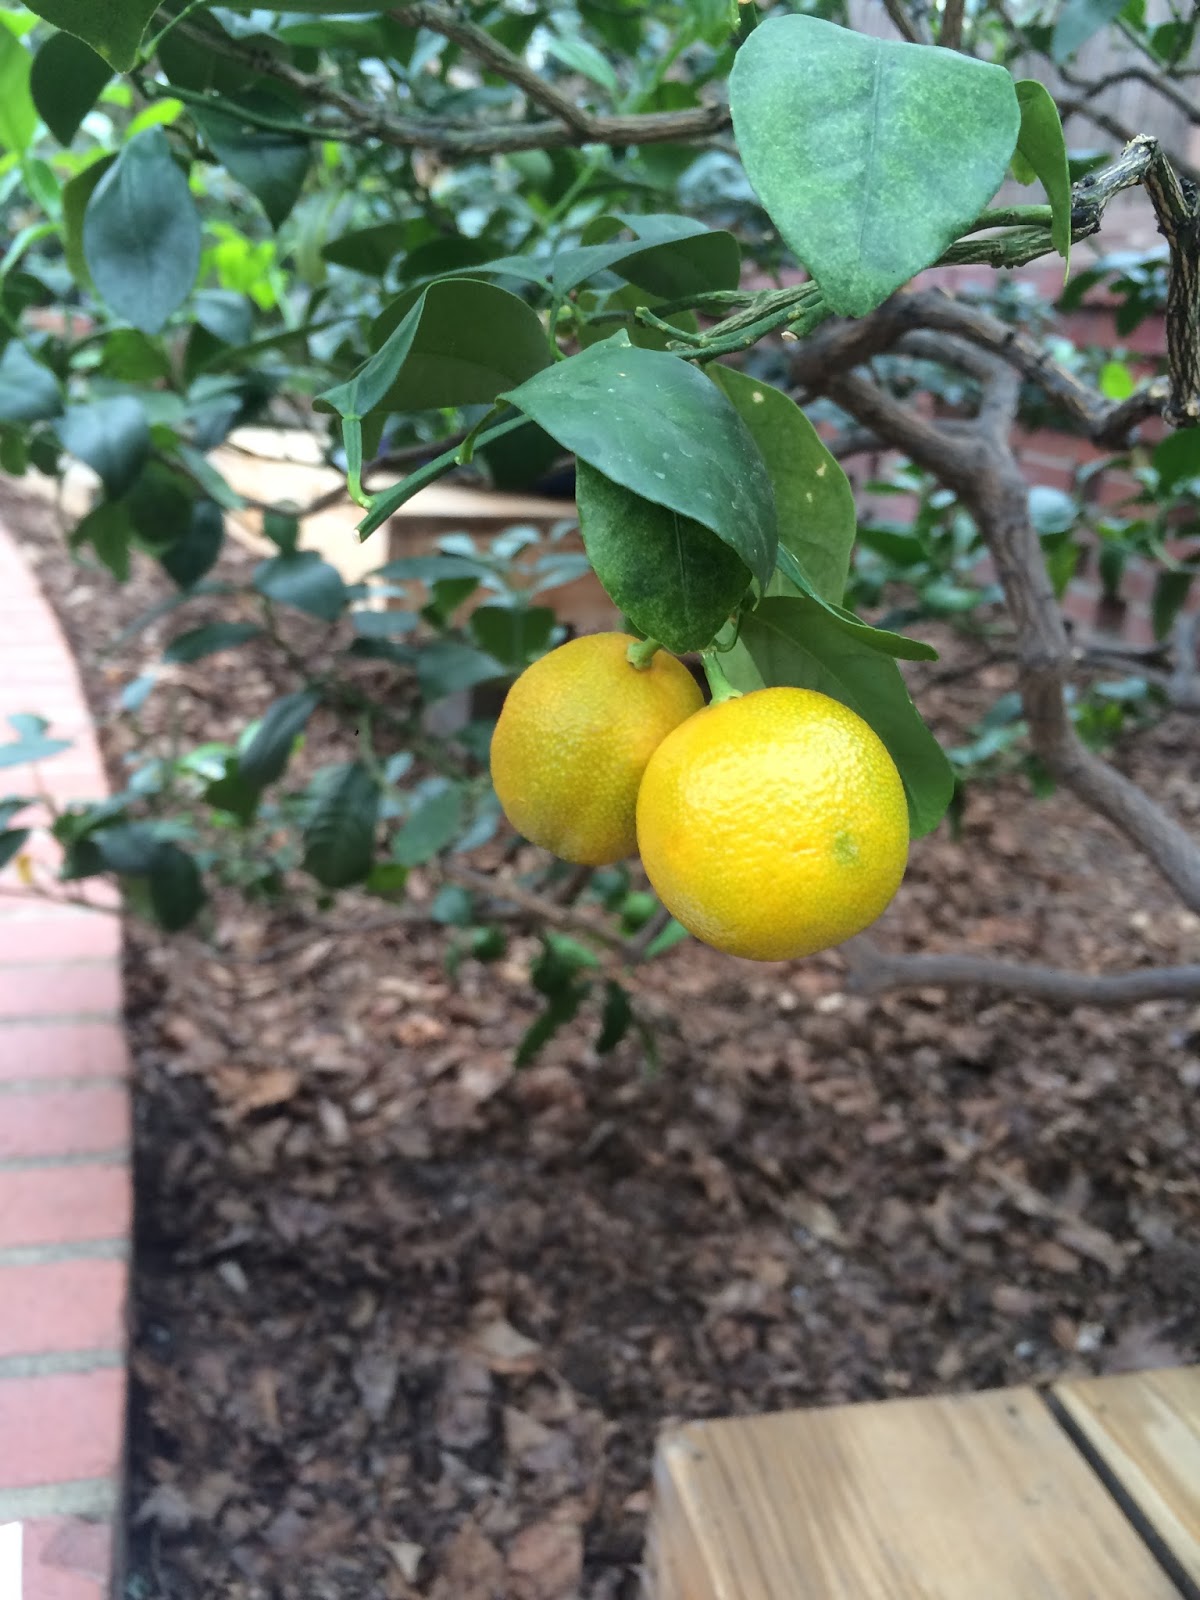
Tiny bonsai orange tree with fruits!

WITTLE FRUITS


This is called the Voo Doo Lily and it's Cool AF

Look at this magnificent inflorescence! Look at it

Sunken Garden over flowing with beautiful Orchids!

Victorian Garden. I think those are the graces in the back but I can't be sure.

Whimsy! Color! Palm Trees in Pittsburgh in February!


This is R's favorite part, the mini railroad garden.
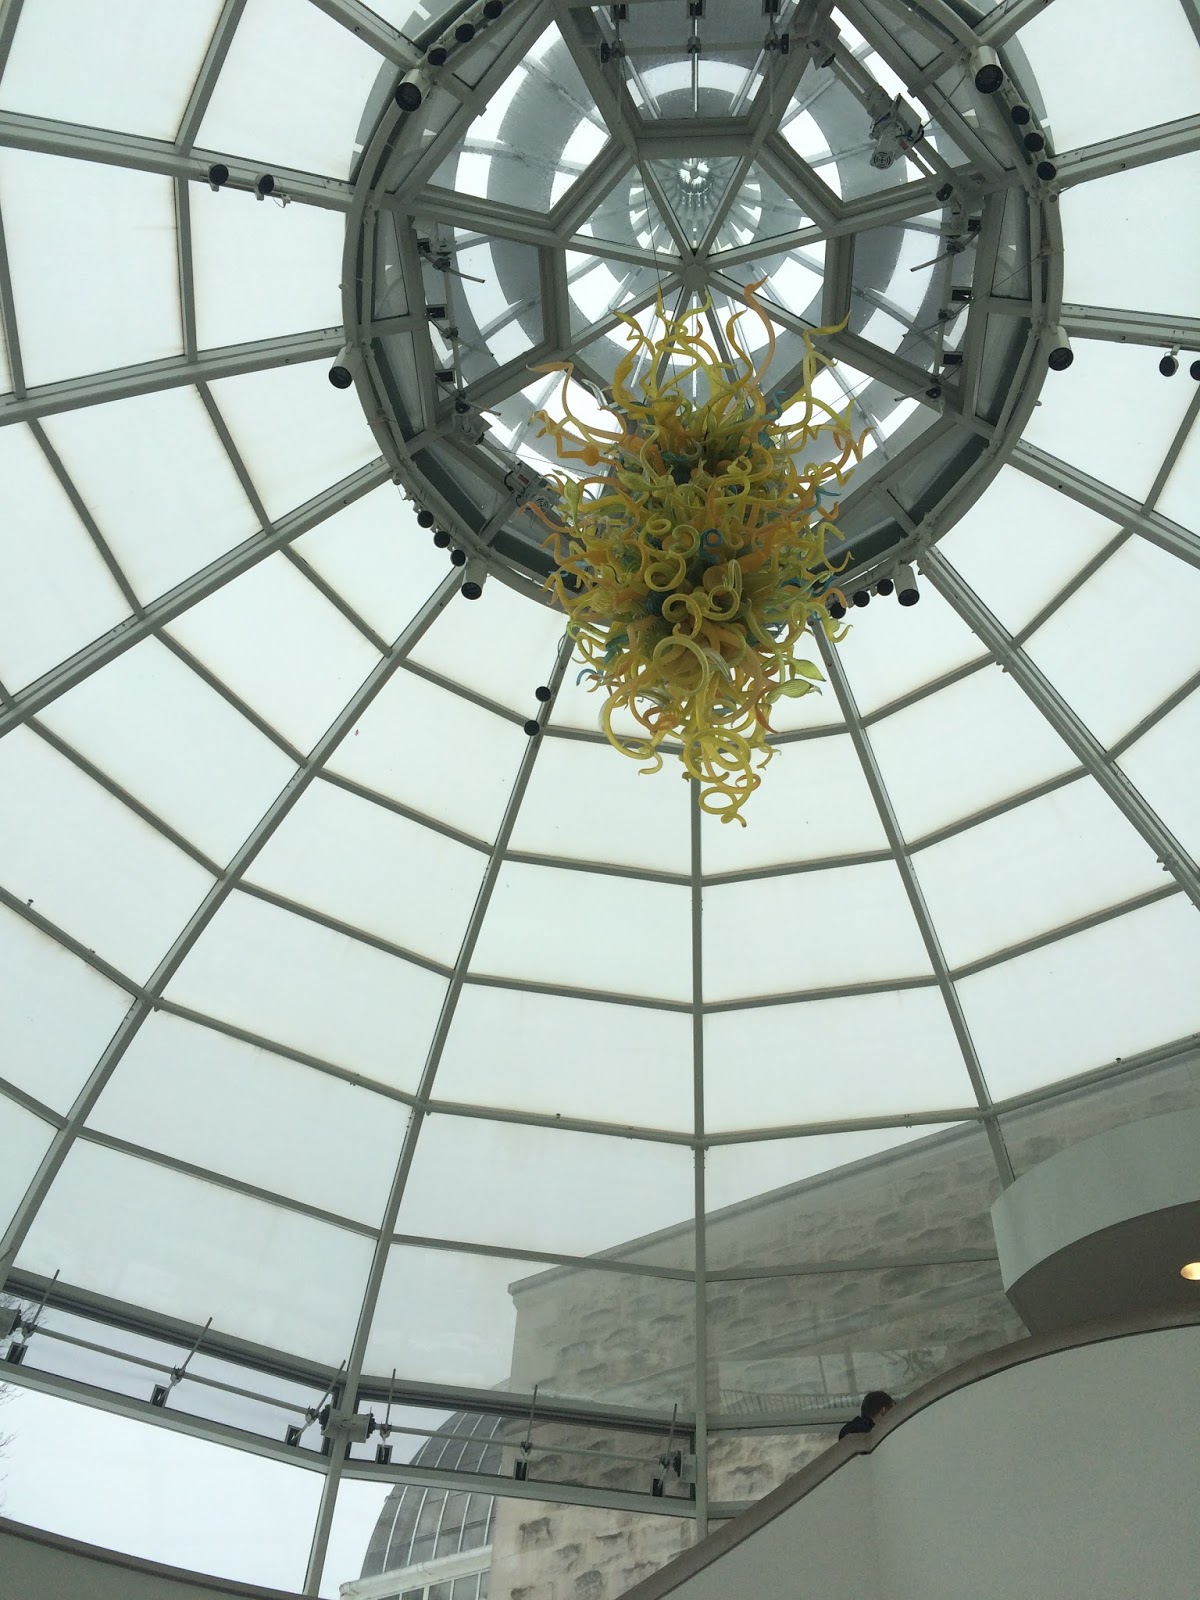
Have I mentioned the glass art yet? Chihuly.
This is Romero the Corpse Flower today, it's giant stinky bloom is replaced with this big green stalk.


Inside the vestibule.

Mmmm. Yes. Cattleya Orchids.


That's all I have for you this week. We're getting geared up for the Home and Garden Show next week so hopefully I'll have the review ready to go in the very near future.

Happy Planting! 


Saturday, February 13, 2016

RTDP: How to Read Seed Packets

Once you’ve procured your seeds, or while you are in the process of procuring your seeds you are going to want to know how to read the information contained on the seed packet. Seed packets are a wealth of information about the plant you’ll be growing.


I have a story for you about the importance of seed packets.


In 2013 I planted my first garden at our home. We bought the house in December of 2012 and I spent months meticulously planning every inch of my brand new raised beds. I knew from my research that it was generally a good idea to plant marigolds in one’s garden, they function as a natural pest deterrent and they look pretty. So I went onto Botanical Interests and picked a variety of marigold. I chose a variety that had pretty round flowers, but didn’t take the time to bother reading much about them. After all, I’m really good with plants, I know how big marigolds get.


The infamous marigolds.
I started the seeds in my little indoor greenhouse along with the rest of my seedlings for the year. Hardened them off, then planted them all over my garden. In early may they were already these cute perfect little marigold plants, all nice and compact with sweet little buds forming. But they didn’t stop growing. They kept growing. They produced tons of these big round luscious marigold, with a nice spicy marigold fragrance. I actually really liked these flowers and if you are interested in growing quite possibly the biggest marigolds EVER, I recommend them. (Botanical Interests Website) Unfortunately they were not what I’d had in mind. Instead of cute little compact plants that would fit comfortably into my garden plans, I ended up with giant bush-like beasts covered in flowers. They took over. They crowded out the tomatoes and the leafy greens, the swiss chard was a gonner. All because I didn’t read the seed packet. If you look carefully at the seed packet on the right you'll see that it clearly says " 2'-3' tall " and if I'd been paying attention I would've noticed that and not been so very confused by the size of the plants.
If you’re familiar with the test taking strategy “RTDQ” (Read The Damn Question) then you may also find RTDP (Read The Damn Packet) a useful gardening strategy.

Seed packets are a wealth of information. Not every packet has every piece of information, but they all will have most of it. To help you learn how to use these resources, I’ll be comparing different seed companies and showing you where to find different things so that hopefully you’ll be able to decode any seed packet you come across.


The information you’ll find is generally, but not limited to:
My favorite seed packet! It's so darn pretty

1- Common Name
This is what we generally call the plant.

2- Scientific Name
This is the binomial Latin version of the plant name, this is useful because this name is the same for your plant no matter where you are or what language the rest of the information is in. Plus it sounds super science-y.

3- Cultivar/ Variety
As I have learned many times over, one tomato is not the same as another variety of tomato, different varieties have different needs and produce different things.

4- Type of plant
Some plants such as tomatoes and green beans have different types of plants, Flowers have annual, pereniall and biennial. Green beans have pole vs. bush beans, tomatoes have indeterminate (IND) vs determinate (DET), for more info check my glossary page. Also sometimes you will find Organic seed, I’ll be discussing later the benefits of organic and whether or not they’re worth the extra cost. If any of these terms are confusing to you, please check out my Glossary page.

5- Weight of seed
How much seed do you have?

6- Price
How much does the seed cost?

7- Image of mature plant
What does the plant look like?

8- Seed company name
This is pretty self explanatory, who produced and packaged this seed?

9- Mature plant size
SUPER IMPORTANT, Learn from my fail.

10- Sun exposure
Does your seed need full sun, part sun, shade? If you’re a little unsure what the different requirements are check out the definitions on the Glossary page.

11- When to sow
Sometimes this is presented as a small map of the US with color coded planting days, sometimes it’s listed as days from last frost (See previous post about garden scheduling)

12-  How many days to germination
How long until your seeds first emerge from the soil.

13- How long until harvest, or bloom season
How long from germination to harvest or bloom. Some seed packets will say this is from transplant to harvest, not germination but it will state that. Remember: RTDP

14- Depth of planting
How deep to plant

15- Spacing and/or Thinning
How far apart to plant and then how far apart to thin your seedlings. More on this in a later post when we discuss growing plants from seed

16- Further description of plant
Tell me more! Tell me more!

17- Contact info for seed company
Just in case

18- Lot number and harvest year
This is really useful if you save seeds and can’t remember how many years you’ve been holding onto them.

19- Suggestions and bonus info
BONUS!


Let’s get some practice reading! 


This variety of poppy was popularized when it became the symbol for WWI memorials in England and later the VFW.


Not every seed packet has every piece of information, but they all have most of it. This one here is lacking both a description of the plant (They're big fluffy red poppies), Sun exposure, and the scientific name (Papaver rhoeas, if you're wondering). But it has most everything. It also has a good example of the when to sow map of the US, I find this to be a bit more general than I like, so I usually go by last frost date and count back. If your seed packed doesn't give you any specific information that you want, like the scientific name or optimum sowing day, just google it. Like I googled the scientific name just now. 
As a general rule it is safe to assume that if there is no sun exposure listed, and you are growing something for flowers or fruits (meaning something you eat with seeds inside, not just sweet things), that you should plant it in full sun. 
Let's do one more, I haven't broken down a veggie seed pack for you yet, so let's do some nice green beans.  This was a packet of seeds that I bought at a dollar store. They didn't germinate well. I'll be doing a much more in depth review of seed companies later but, SPOILER ALERT,  dollar store seeds usually suck. 

Didn't grow well, but for $0.59 it was worth a shot.


This is an awesome seed packet, the only information missing is what sort of sun exposure the beans need to grow (full sun, but beans can tolerate a bit of shade better than many other garden veggies can).  

That's about all there is to seed packet reading. Just, Read The Damn Packet (RTDP). And if you are confused by something, don't be afraid to look it up. Google is an amazing resource, but so are your favorite gardening books, friendly neighborhood gardeners and me! Feel free to write a comment or shoot me an email with questions.  I, like most gardeners, love talking about gardening and really welcome any opportunity to talk some one's ear off about plants. 

Next blog post: Seed company reviews- The good, the bad and the meh.