Saturday, January 30, 2016

Getting it all down on paper (Planning your veggie garden Part 2)

You understand me Ryan Gosling
Once you’ve day dreamed your way through seed catalogs, Pinterest, and as many nursery companies as you can find, it’s time to get down to the nitty-gritty.


What do you actually want to grow? How much space do you have to grow things? What can you grow in that space? What is your budget for this garden?


The order in which you determine these things isn’t all that important. This is how I like to do things, you might find another method that works better for you and that’s awesome. If you do please share it!


First I make a list of all the things I want to grow this year in my veggie garden along with the amount of space each one takes to grow. There is a popular garden method called “Square Foot Gardening” that I really like to borrow from. (If you’re interested you can get the book here: Link to Amazon)  If you have a healthy, well fertilized, raised bed you can use pack a lot more into each square foot than in traditional row gardens. However, the Square Foot Gardening method does not really enough air circulation, water, or light for the other plants to survive, so I trim it down a little. They also do not allow for enough space to get through the beds in order to tend plants that may be behind other plants. If you only have 4x4 beds, with total access all the way around, in absolutely flat and full sun areas with perfect soil and you always remember to water every day it doesn’t rain then the Square Foot Gardening method is for you. For the rest of us it leaves a bit to be desired. I do however find it to be one of the most useful books and methods for urban and smaller space gardening.


There are a lot of great resources out there for how much space different plants need, and I find that thinking about your garden in terms of square feet can be really helpful for some plants.


Here’s my quick and dirty spacing vegetable garden guidelines:


1 per 2 sq ft:  Zucchini (summer squash), Winter squash, Gourds, Pumpkins, Tomatoes, Standard Cucumbers


1 per sq ft: Peppers, Eggplant, Brussels Sprouts, Broccoli, Cabbage


2 per sq ft: Small cucumbers, Corn, Bush Beans, Collard Greens


4 per sq ft: Strawberry, Marigold (to be totally honest with you, I mostly just tuck marigolds into my garden anywhere I have a bit of space, they’re lovely pest repellent and also look super cute), Swiss Chard


Space 6’’ apart along trellis or fence: Pole beans, Peas (I don’t think much about these in terms of their footprint because they grow up along their supports so much)


Plant in rows more or less according to seed packet: Lettuces, spinach, most greens, carrots, beets.


A quick note about herbs:


An herb garden is one of the most enjoyable and cost efficient types of home gardening. If you have only a little bit of space you get the most dollar savings by growing your own herbs. Herb gardens are also great candidates for container gardens. Personally I prefer to grow my herbs in containers around my patio. I’ll write posts specifically about container gardens and herb gardens later.


Next you need to know about your space. Where are you planting this garden? How much space do you have? What kind of sun do you get?


First you need to know how big your garden is. Go out and measure your space. Are you building raised beds? I’ll be writing a post about raised beds later on, but (spoiler alert) if you can build raised beds I HIGHLY recommend that you do. They cut down on weeding, retain water better, give you more control over your soil quality, and they look pretty. Over all they’re just an awesome choice for your veggie garden.  


Once you’ve measured your space or spaces, write it down.


Most garden vegetables require full sun (6+ hours per day) in order to thrive and produce blooms. Keep in mind that the sun will move across the sky, so that if you look at your garden in the morning you might have different exposure than if you check it out in the afternoon.  


Check on your space at a couple different times during the day to see what kind of sun you get. Write that down too.


The Process:
Super high tech.


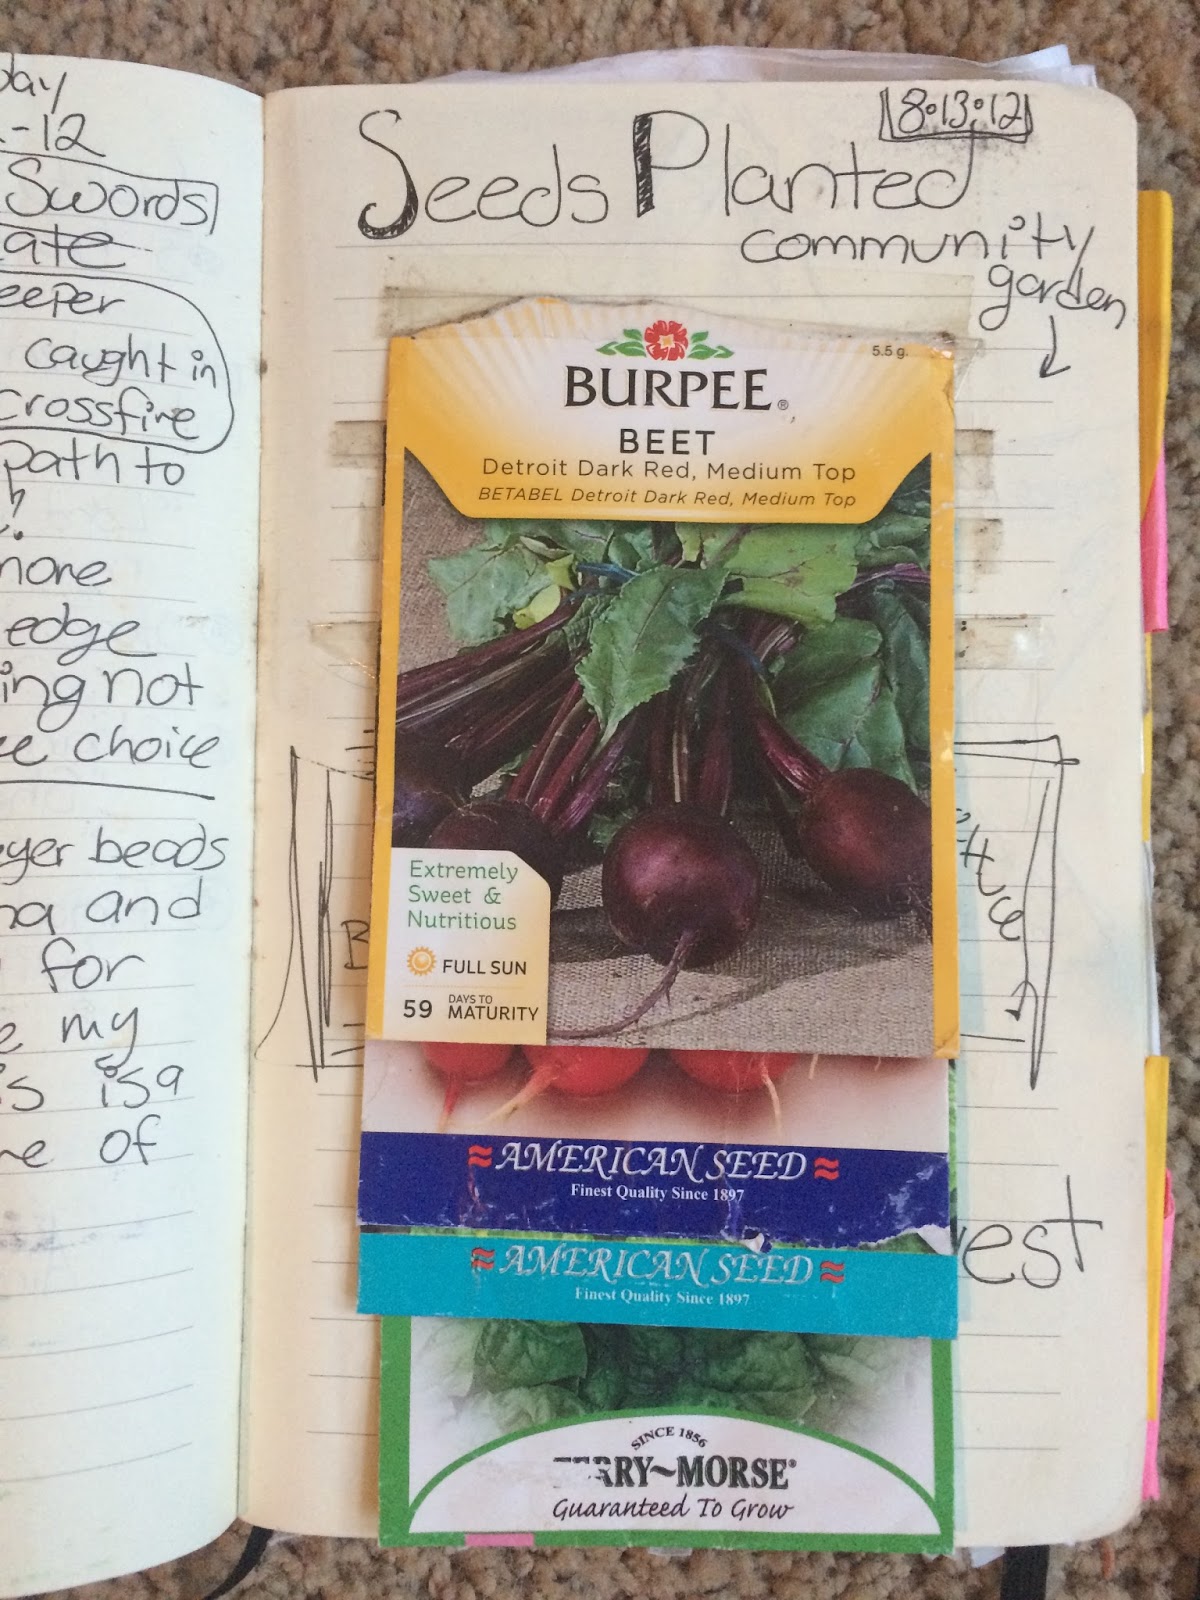
First thing’s first, gather your materials. There are as many different ways of writing up a garden plan as there are gardeners, but I have found that few things work quite as well as some graph paper, some colored pens or pencils, and my notebook.


If you’re not a pens and paper sort of person Gardeners.com has a great free tool that you can use right on their website to get much the same effect. 


This is just an example, my blog doesn't have its own garden
Draw your garden dimensions on your paper. You can make each square one foot, or you can make each square 6”, or however you want to do it. For the sake of this experiment I’m going to design a 4’ X 12’ bed, with each square representing 6” square.


Be sure to label your chart with both your space, the date, and your dimensions.


Up next is just plug and play. I like to do my initial spacing with a pencil and then write it in with pen later, so that I don’t have to redo everything if I mess up.


There are two different ways of laying out your garden plan, either using symbols for the different types of veggies or by blocking the space out and labeling it. I do both and either way works just fine and is totally up to you how you want to do it.


My actual garden journal on Left, example on right.

Some quick tips:


For those of us in the Northern Hemisphere the southern sun will be the brightest and hottest and what most of your plants will want the most.


Bare in mind that taller plants will shade shorter plants. Plant your taller stuff towards the North side of your bed so that it won’t shade out the smaller stuff.


Remember that you need to be able to reach all your plants in order to tend them and harvest them. I made that mistake and spent a summer playing twister with a dense forest of tomato plants so that I could harvest the green beans I had growing on a fence behind them.


If you have a fence or wall, consider going vertical and growing something on them. Also if you can’t reach all the way around your garden, plant the tall stuff in the back, so that you can reach over the short stuff to get to it.


Once you’ve drawn, re drawn, tweaked and made yourself a beautiful garden that’s filled with yummy things you just can’t wait to eat, the next step is to ask yourself two key questions:


Where are I getting all these plants from?
and
When do I need to do stuff?


I’ll be answering those two questions in my next blog post!


Saturday, January 23, 2016

Sweet dreams are made of seeds! (Planning your veggie garden Part 1)

Gardening puns are starting to grow on me
Being able to grow your own food was once a necessary life skill, even more valuable than reading. Unfortunately that was lost to a great number of people. Although thankfully there have always been farmers, and there are today, modern factory farming has made it so anyone can go to just about any grocery store, at any time, and find any produce they might want. Many people don't even know what seasonal crops are! (Seasonal crops are the vegetables, fruits, and other crops that are growing in your area at the time in question. In Pittsburgh in January there aren't a lot of in-season crops.) Home gardens were popular up through WWII with
Victory Gardens, but fell out of popularity and are only just now enjoying a modern resurgence through movements like and Grow Food Not Lawns and Urban Gardening. I myself live in an urban setting and although I don't have enough space or sun for self-sufficiency, I do grow a lot of vegetables all summer. Growing a home kitchen garden can be a lot of work, but it's fun and well worth it.

The first step in any garden project is to plan it out. January and February are prime time for garden planning. We're past the fun Holidays part of winter and now into the long slog of ice and slush and cold grey days until Spring. To keep the winter blues at bay I like to focus on what I have in front of me for the coming year. Also there's plenty of time to get all your dreaming, planning, researching and ordering done before any roots need to be put down. 

Now I am a compulsive planner, I love my day planner, I love my journals, I carry a little bag of colored pens and pencils so that everything is nice and orderly and colorful. You don't need much to plan your garden space well, just a little bit of time, some paper and pencils, or even just an internet connection. 

There are three steps in any garden plan:

Step 1: Dreams vs. Reality
Step 2: Getting it all down on paper (or at least saved to your hard drive)
Step 3: Procuring seeds and plants (aka- The fun part)


Dreams vs. Reality:

Around the end of the old year and beginning of the new year seed catalogs start coming in the mail. If you don't get any seed catalogs I recommend them highly. My roommate calls them "plant porn". And they are. I get a great deal of pleasure out of curling up on the couch with a seed catalog while it is cold and dreary outside and dreaming of Spring.  If you need some seed catalogs I recommend Botanical Interests (BotanicalInterests.com), Baker Creek Seed Company (RareSeeds.com), and Burpee (Burpee.com). You can visit their websites to browse seeds, and most of them will have a "request a catalog" link where you can get them mailed to you. 

Later on I'll be reviewing seed companies, however as of right now those are my three favorite catalogs.

Take some time to think about what you like to eat. What makes do you buy the most at the grocery store? What would you like to eat a lot of? This is actually a critical point. One year I planted a ton of radishes. They grow quickly and can be planted much earlier than many other vegetables, meaning that you can use the space for more than one crop in a growing season (more on that later too). So I thought "Score! Get some early planting in, lets grow some radishes!". And I did. And I grew an absurd number of radishes. They were really yummy too, and if you are a radish enthusiast I highly recommend growing your own. However, I am not much of a radish enthusiast and aside from the odd radish in a salad I'm not terribly enthused about them.  So then I had a rather large number of radishes and no desire to eat them, neither my husband nor room mate much like radishes either. Fortunately we have a neighbor that does enjoy radishes and so I gave them to him. Vegetable gardening is great for making friends with your neighbors.

Once you have a general idea of what you'd like to grow it's time to break out all that sweet sweet plant porn. If you've never planted a garden before you may find yourself a bit overwhelmed by the options. I fondly remember the first year that I decided to grow tomatoes and started looking for "tomato seeds". As it turns out there are basically a million different varieties. They come in different sizes, shapes, colors, textures, growth habits, basically any variation of a tomato you can imagine probably exists out there.

Don't Panic. There will be lots and lots of information out there. And there are plenty of good sources for help in decoding it. Check out my glossary page for some vocabulary words, and also feel free to shoot me an email over on my Contact page. Or leave a comment.

The best thing to do as a new-bie, or as an expert is to Read The Seed Packet (or plant label). I have another story about the marigolds that ate my garden, but I'll save that for another day

Compile a wish list. Dream big.

Then acknowledge reality.

The unfortunate thing about gardening is that no matter how much information there is out there, or how many different varieties of amazing mysterious seeds you buy, you will need some space to plant them.

Consider your space carefully.

But keep dreaming anyway.

Next post: Getting it all down on paper- Planning your veggie garden part 2. 


Monday, January 18, 2016

Garden Journals

One of the simplest and most important tools that any gardener can have in their toolbox is a good gardening journal. Keeping track of what you’ve grown, what problems arose, and how you handled them is the first step in becoming an expert bad ass gardener.

There are a lot of different options for garden journaling out there, that vary from very inexpensive to
Oooo this one is so pretty, but pricey. Not one of mine
very expensive, from simple to complex. I’ll be sharing a few different approaches that I’ve used as well as their benefits and drawbacks. There are plenty of amazing resources out there that range from the technical to the sublimely beautiful.

Whatever journaling technique you use, here’s is what you want to include:
  • What you planted
    • What varieties are you planting? Are they heirlooms or hybrids?
  • When you planted it
    • Did you start seeds indoors to create your own seedlings?  Where did your seeds or seedlings come from?
  • Where you planted it
  • General weather conditions (Whether you have a cold dry Spring, or hot wet Spring will effect how well your garden grows)
  • How well it grew.
  • How well it produced.
    • How long did it take to emerge and produce? Does that track with the information on the seed pack or tag?
  • Did you like this variety? What did you like or not like about it?
  • Any difficulties, pests, diseases, etc, that you dealt with and how.


Now that is a lovely garden page, also not mine

Wow. That seems like a lot of information to keep track of.
And it is.  Don’t Panic.

I’m not a great journaler. Every year about this time I start off with the best of intentions, lovingly planning and recording every seed I start, exactly how it grows.  

Then, suddenly, May hits and I can actually spend my time outside gardening and I completely forget all about journaling because who wants to go inside and journal when there are plants to be planted and dirt to be dug and weeds to be pulled?!

I’m working on it.

This year is going to be the year that I really stick to it too. I can feel it.

Or maybe not.

Any way, here are a few of the different ways I have tried to keep track of my own garden in the past.

First of all, save your seed packs. Seed packets are filled with AMAZING information and in the case of one of my favorite seed companies Botanical Interests, they're filled with amazing art too. If you do nothing else save your seed packs from each year.
Seed packets also save you from having to record more information about varieties, expected sizes or other some such dull but important things.


Check out this rag-tag bunch of books

Let's start at the beginning of my journaling. I did garden before these journals, but I did a terrible job of keeping track of what I grew. 


This is the only journal I've ever filled
Boom! Garden journal
2012: My first "Garden Journal" was actually just a page from my regular journal. There was a brief shining moment when I was really good at journaling. I'm hoping to get back there this year.
It wasn't fancy but I wrote in it every day. About lots of things. Like parenting or cooking, or Tarot cards or gardening. In 2012 I had container garden on my back porch, and I loved it. I'll be writing more about porch/container gardening later.

2012 was also the first year that I joined the local community garden! I didn't write down what I planted there in the Spring, I think that there might've been tomatoes involved? I can't be sure. But I do know that it didn't work out so I decided to tear it out and plant some fall harvest seeds. Lesson learned, I saved my seed packs.

This is about as simple of a garden journal as you can have and, to be perfectly honest, I think it works really well.  What I would do differently is devote one page spread to each seed pack, and affix them in some way that would be removable (right now they're just scotch-taped in).  

2013: The first year I had a garden of my very own.  It was also the first year that I decided I needed a dedicated garden journal.  I got this idea from Pinterest. Later on I'll be writing an entire post about my complicated and at times contemptuous relationship with Pinterest. But suffice it to say this isn't the worst thing that website has done to me. 
Look how cute that is
The concept is simple. Procure small photo album. Put your seed packets in the small photo album. Keep your notes on a note card, also put that in small photo album. 
Not sure where 2013 I went off to. 
Easy peasy. 

This is a lovely idea if you're really into keeping notes. I thought I was one of those people who takes careful notes about every one of their plants. But I was sadly mistaken. This is however a very inexpensive method. 

Removable seed packs are a big plus. Just in case I want to read information on the back. Also Botanical Interest seeds has tons of information on the inside of their packets, so being able to open them up is necessary. 


2014: I don't have a picture of my 2014 journal because I can't find it. It's probably hiding in shame some where in my house. You see, it should've been wonderful. It was going to be great. It was the chosen one. It was a bound, scrap booked, custom, series of pockets (for seed packets) with just the right amount of space for note taking. I used colorful pens to write all my plants names. Every page was unique and pretty and carefully customized. 

I don't know if you're noticing a theme here, but I'm sure you can imagine how long that lasted. 

That's why it's hiding. 

2015: the year of fuck it
Not a lot of info on those cards...
2015:   Back to basics. I took my seed packs, put index cards in them and threw them in a box. Quick, easy, cheap. That's how I like it.  There's nothing wrong with this approach, I just have a lot of trouble going to a seperate place to keep track of everything. I am utterly obsessed with my planner, so needing to write even more stuff down ends up just being too much for me.  

This year I'm going to try using a journal again, and tracking my garden based on the month rather than the type of plant. 

I'll let you know how it goes. 

Next post: Vegetable Garden Planning! How to get the most out of your space!